(click images to enlarge)
|
![](education-demos/barbro/step1.jpg)
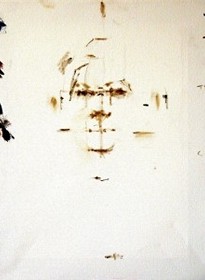
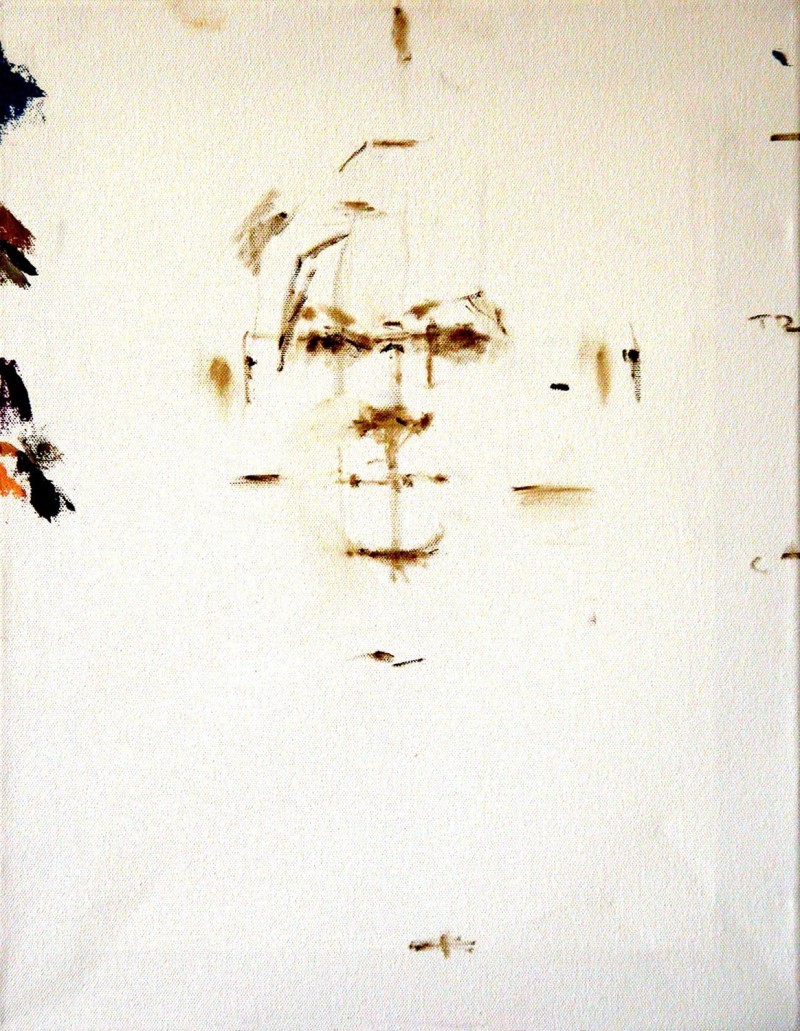
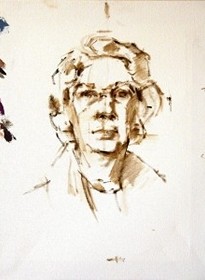
Step 1. Sizing and placing the head. ![It's so important to think through this step before ever touching brush to canvas because it is something that you won't want
to change once you get further along.It's especially important to take as much time as you need in an open studio session, where
you have a very limited time to paint a live model, and it's tempting to rush through this step to preserve those precious minutes.
<p></p>
Below I've made measurements to estimate the distances among the 'landmarks' of the head, which will guide the placement of the features.](graphics/plus.png)
|
|
![](education-demos/barbro/step2.jpg)
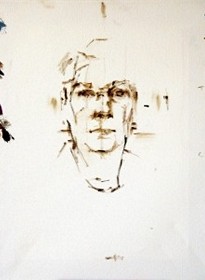
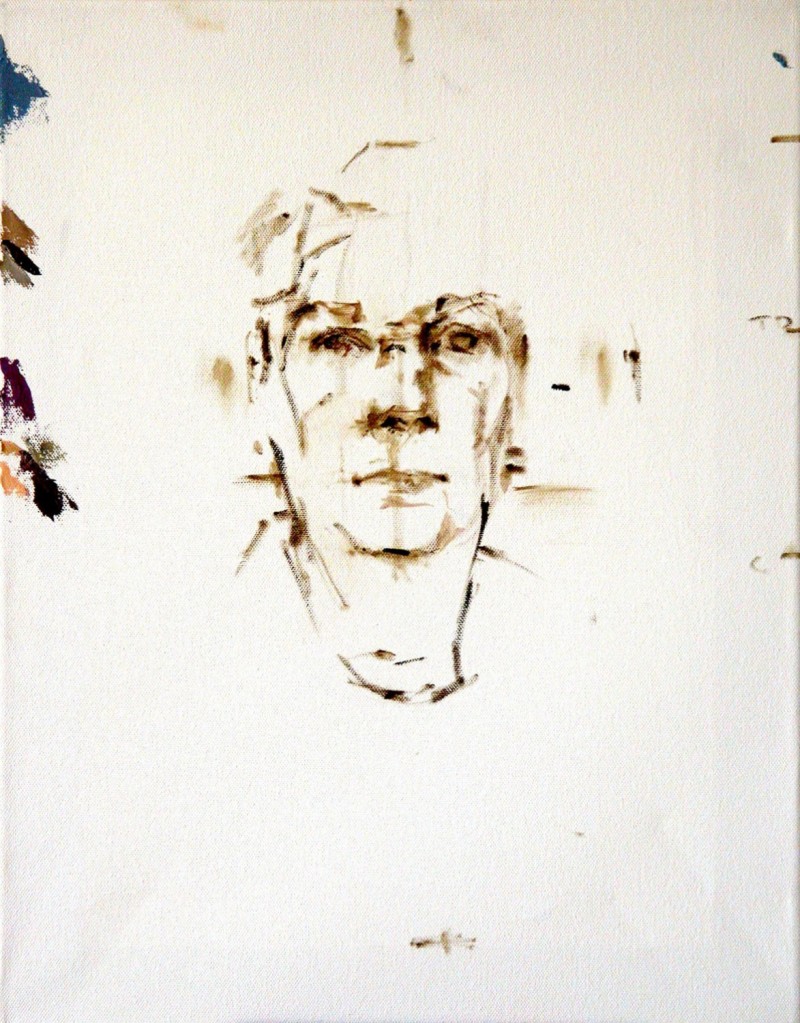
Step 2. Continue to place and fill out the features,
drawing with some raw umber, diluted slightly. |
|
![](education-demos/barbro/step3.jpg)
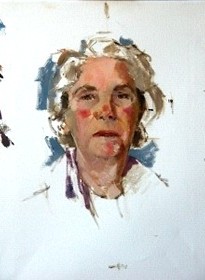
Step 3. Separate the light from shadow.
|
|
![](education-demos/barbro/step4.jpg)
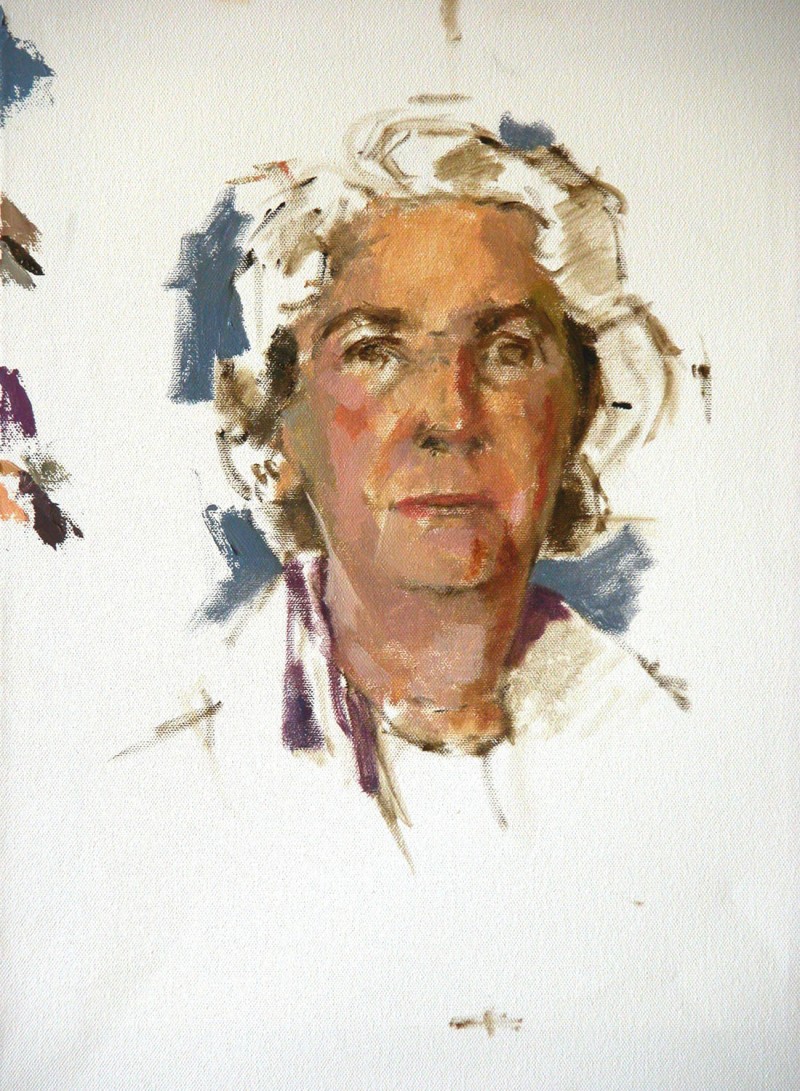
Step 4. Cover the working area with paint, approximating
color and value as you place brush strokes across the surface.
![Here I have also placed the darkest darks and committed to the
background, placing background color right up against area of
the head and neck. There needs to be enough paint on the canvas
so that there is something to move around, to enable corrections
and increased accuracy to be easily made.](graphics/arrow.png)
|
|
|
|
|
|
|
|
![](education-demos/barbro/step5.jpg)
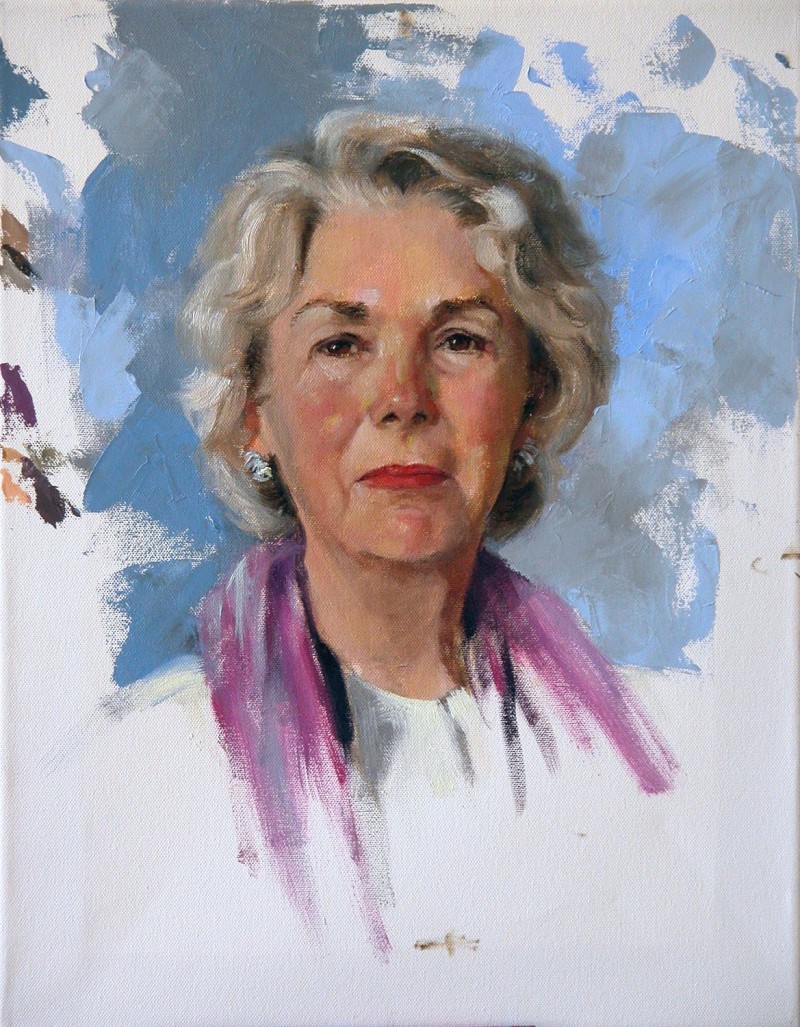
Step 5. Restate the drawing, the color and values. Here,
I have also begun modeling the hair. |
|
![](education-demos/barbro/step6.jpg)
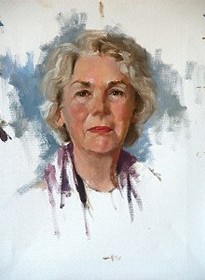
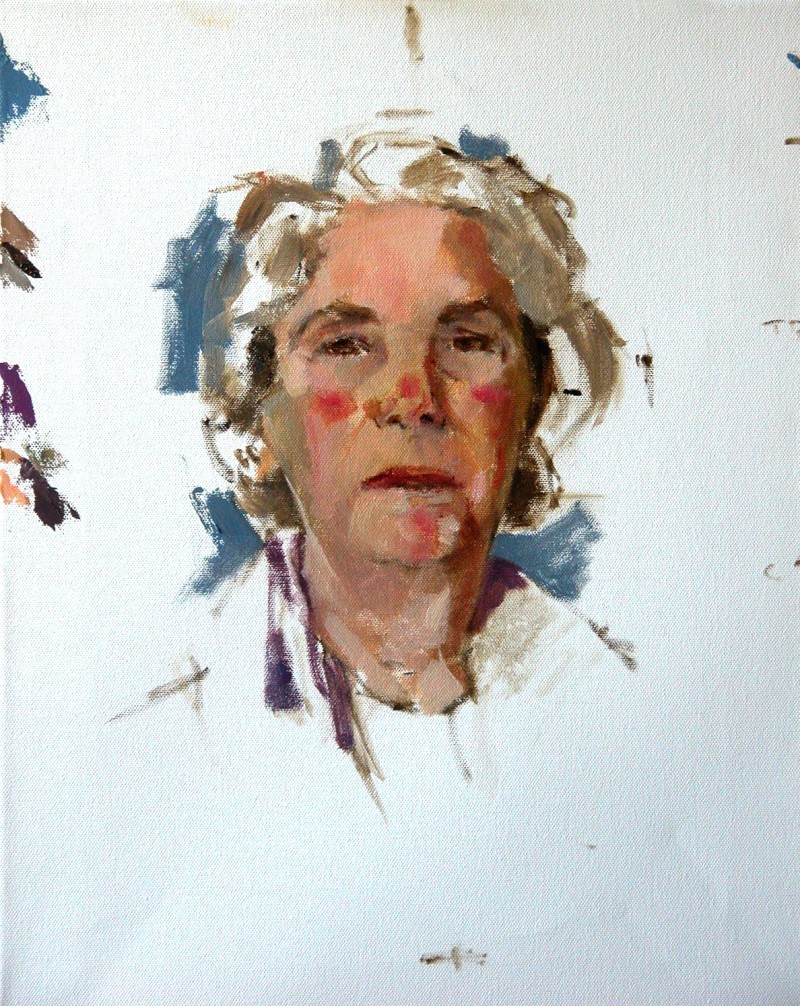
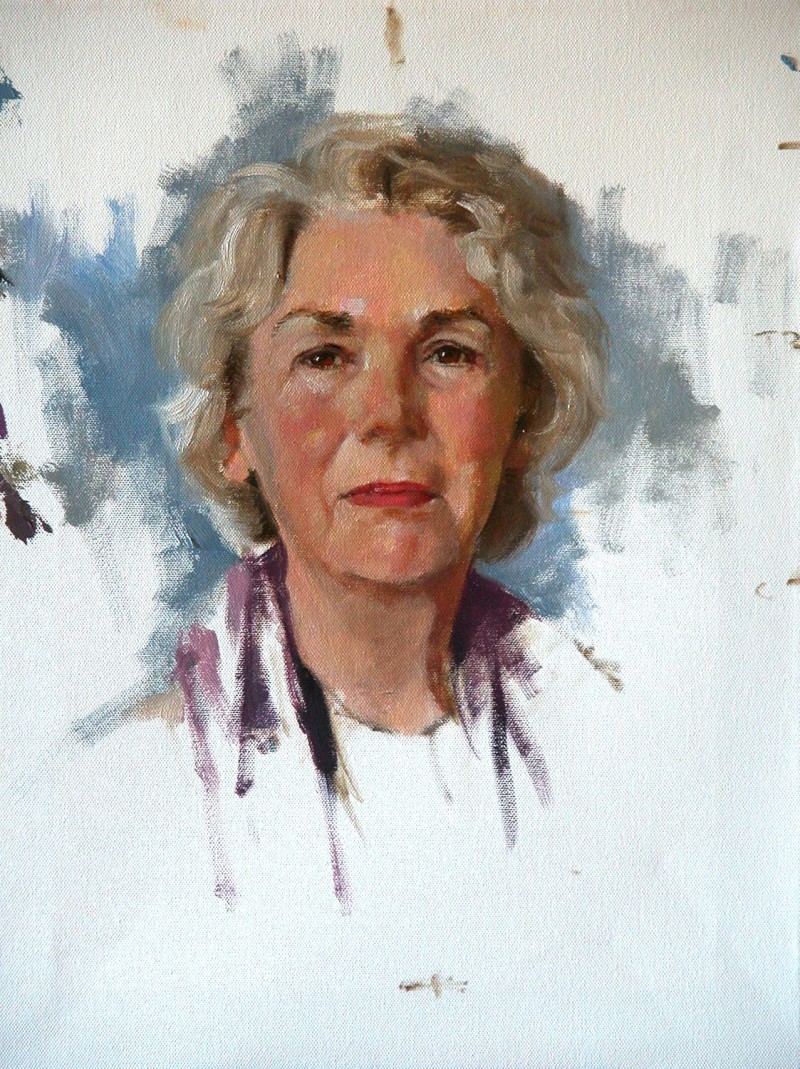
Step 6. Add details to the features, neck and hair. |
|
![](education-demos/barbro/step7.jpg)
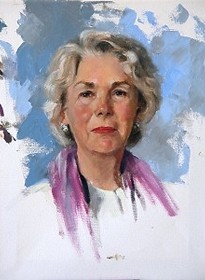
Step 7 Final. I've added enough background and scarf
to balance the composition and to make the painting into a well-designed
vignette. |
|
|
|
|
|
|
|
|
|